If you’re new to recording audiobooks, you’ll need equipment that will make your voice sound good and pass Audible/Audiobook Creation Exchange’s (ACX’s) audio requirements. On the other hand, the equipment also shouldn’t exceed your budget.
This post is for authors who are planning to record their own audiobooks. Making your own recording will allow you to have more control over how your audiobook sounds. In addition, it’s significantly less expensive than hiring a narrator.
The table below lists the equipment you’ll need for your home studio and the typical price for each item.
| Equipment | USB Microphone | Microphone (uses external power source) |
| Microphone | $60 | $105 |
| Mic Boom Arm | $40 | $40 |
| Pop Filter | $12 | $12 |
| Headphones | $90 | $90 |
| Digital Interface (not needed with USB mic) | N/A | $160 |
| Digital Audio Workstation (DAW) Software | Free | Free |
| Total | $202 | $407 |
The prices for each of these items can easily reach thousands of dollars. However, the focus of this article is on the beginner. I chose quality equipment that’s also within the price range of an author new to narration. The following sections provide more detail about each of the items in this table above.

Microphone
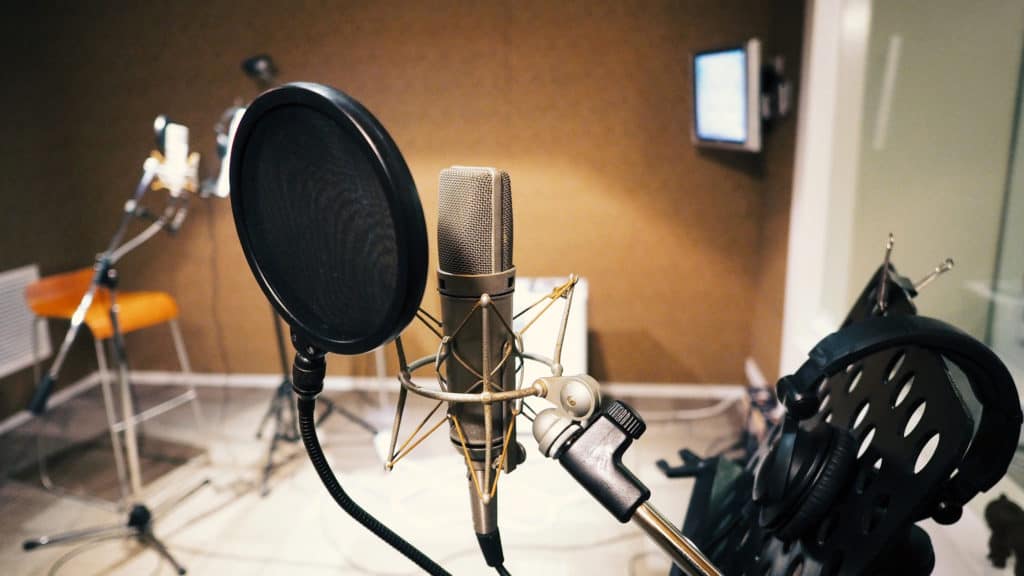
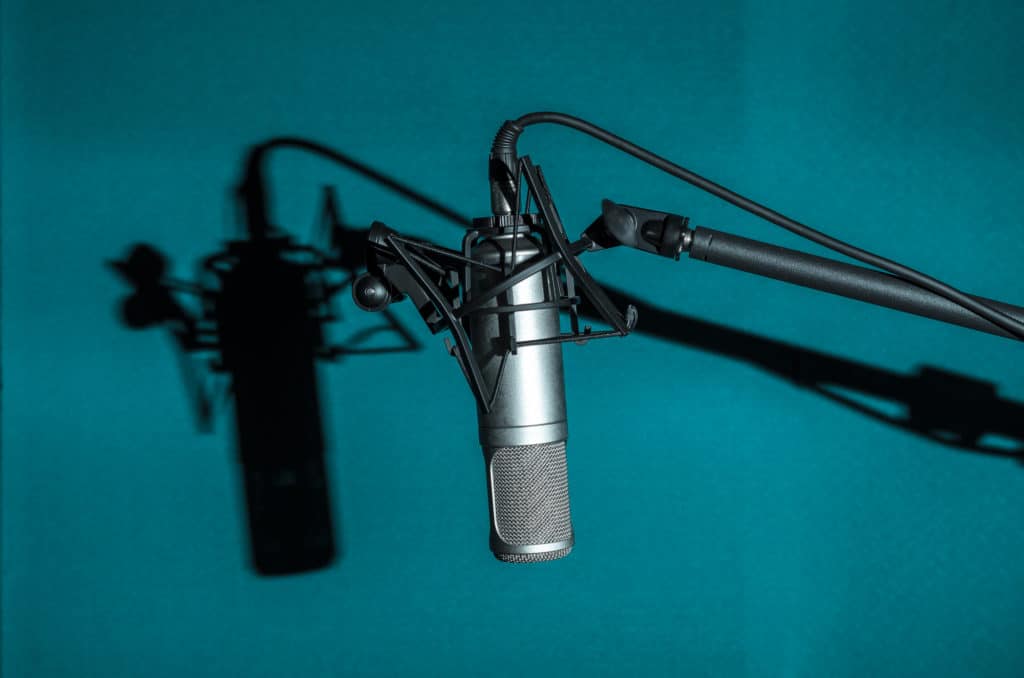
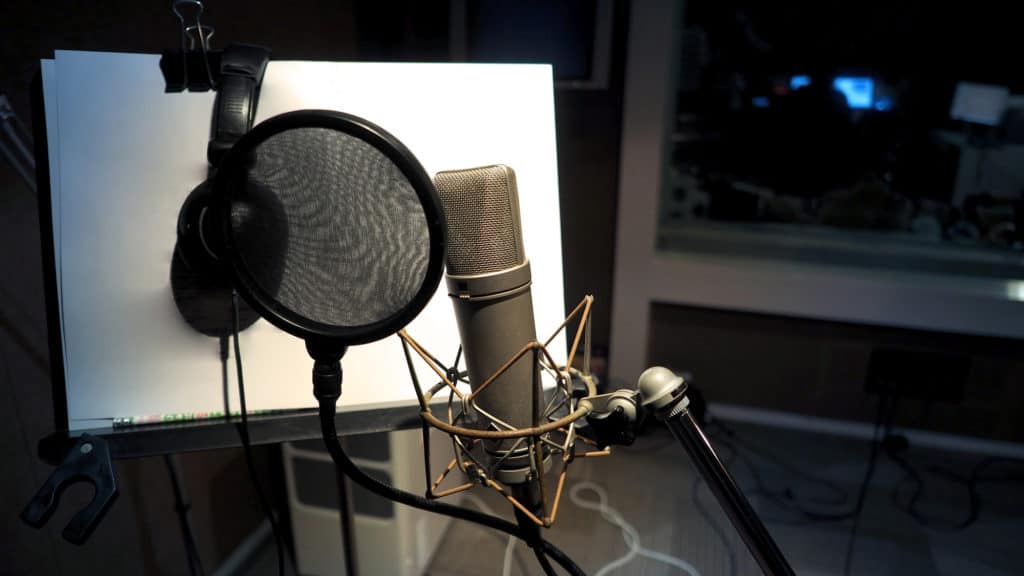
A microphone is probably the most important piece of equipment in your studio. If you start with a poorly performing microphone, it’ll be difficult to compensate for it during post-production (editing, proofing, and mastering.) You’ll save yourself a lot of work by spending some money on a good mic.
As a review, a microphone is equipment that uses a flexible diaphragm to translate sound waves into mechanical vibrations. These vibrations are converted to electrical signals.
The definition of a good microphone is one that makes your voice sound the way you want it. You can discover which microphone you’d prefer by testing different types. Test your computer’s mic, cell phone mic, hand recorder, and anything else you can find. Then, do a test with a professional microphone. You should be able to hear a clear difference.
Condenser microphones are the best mics for audiobooks. The diaphragm is very sensitive and accurate, which is perfect for recording audiobooks. However, it’s also very light and fragile, which could make it prone to damage if you aren’t careful. In addition, if you purchase a lower quality mic, it’ll increase the noise, making your audiobook inadmissible to Audible/ACX.
Microphones fall into two general categories. Microphones that are USB only and others that use an external power source like a Digital Interface. The USB microphones are generally less expensive. These mics plug directly into your computer and make recording your voice very easy and straight forward.
The Blue Snowball is a popular USB microphone for beginners. It provides quality sounds at a low price. In addition, you won’t need a digital interface with this microphone.
Microphones requiring an external power source are for authors or narrators with some experience who want an even better sound for their studios. These microphones require a digital interface for power and to transfer the analog signal to the computer.
The Amazon Choice for a mic is Stellar X2 Microphone. This mic is good for newer authors or narrators who have a little experience and want a higher quality sound on their recordings.

Mic Boom Arm
A microphone boom arm is a support for your microphone. The purpose of the boom is to suspend the microphone upside down above your head. The bottom of the microphone should be level with your eyes. However, the microphone should be 6 to 10 inches from your face.
An Amazon Best Seller for a microphone boom is InnoGear Microphone Stand. This boom is in a reasonable price range for beginners, and it supports the Blue Snowball microphone. In addition, this stand also comes with a pop filter.
If you would like to learn more about properly positioning your microphone, take a look at my article How Far Should My Microphone Be From My Face.
Pop Filter
A pop filter is a circular diaphragm that you attach to your microphone. These filters reduce extra sounds that result from hard consonant sounds like ‘P’ or ‘B.’ Keep in mind that pop filters don’t remove sibilance. Harsh sounds that occur from pronouncing letters like ‘S,’ ‘T,’ and ‘Z’ are called sibilance. These sounds must be removed during the editing process.
The pop filter that comes with the InnoGear Microphone stand mentioned above is a good option because it’s already packaged with the boom. However, Chandler Bolt, a well-known author, recommends the Earamble Studio Microphone Pop Filter.
Headphones
Studio quality headphones are closed back—meaning they cover your entire ear. The advantage of closed back headphones is that they don’t allow sound to escape and risk getting picked up by your microphone.
Good headphones help during narration because you can hear mistakes early and make corrections before you start editing. In addition, you can hear unwanted breaths, mouth clicks, pops, and more. Many times the solutions to these issues are to drink some water, slow down, or take a break.
An inexpensive headphone option is the OneOdio Closed Back. It’s an Amazon Best Seller and a good start for beginners. Another option is the Sony MDR7506, which is a higher quality, and more expensive headphone used by Krystal Wascher, a professional narrator.

Digital Interface
A digital interface provides analog to digital and digital to analog conversion without introducing a lot of noise. In other words, it takes the mechanical signal from the microphone and converts it to a digital signal that the editing software or DAW will recognize.
The digital interface is a combination of the preamp and audio interface. The preamp powers the microphone and amplifies (increases) very weak signals before passing them to the audio interface. It brings the microphone’s signals up while introducing very little noise and distortion.
The audio interface takes the signal from the preamp, converts it from analog to digital, and feeds it to the DAW. The DAW is the software that you use to record, edit, and master your audio files.
The Amazon Best Seller digital interface is the Focusrite Scarlett Solo, which is a quality brand name at a lower price point for beginners. Many professional narrators use the Focusrite brand.
Digital Audio Workstation (DAW)
The purpose of the DAW is to allow editing and mastering audio files. This is software, and as you may imagine, the more money you spend, the more built-in help you’ll get to manage your audio files.
However, if you’re new to editing, you can always start with a free DAW. I recommend Audacity for PC and Garage Band for Mac. If you do use Audacity, I recommend ACX Check. This plugin makes sure that you meet all ACX mastering standards.
If you’re open to spending a few dollars a month, Adobe Audition has a few software features that drastically reduce your editing and mastering time. This DAW is recommended by M. L. Buchman, who is an author and narrator.
Conclusion
The minimum equipment beginner authors need for their home studios is a microphone, boom arm, pop filter, headphones, and a free DAW. This will probably cost around $200 and will enable the author to get started with their narration.
Discover essential tips for selecting top-notch headphones tailored for optimal online learning experiences.
There are additional pieces of equipment that you could purchase once you’ve gained some experience. This includes an upgraded microphone that requires an external power source as well as a digital interface.
Are you an author who is recording an audiobook? Which equipment do you use for your home studio? Let me know in the comments below.
[/et_pb_text][/et_pb_column] [/et_pb_row] [/et_pb_section]

4 comments