

Are you interested in saving money by learning how to edit your audiobook? This article is for authors and narrators new to audio editing, as well as aspiring audio engineers.
Editing an audiobook involves removing unwanted noises, modifying the pacing of the narration, and marking where the narrator needs to rerecord. This article is not a comprehensive list, but rather a collection of important editing elements.
#1 Use the recommended tools
There are thousands of hardware and software options for audiobook editing. I won’t go into specifics in this article, but a list of what to consider is listed below:
- Computer: Most people already have a computer, but make sure it’s compatible with and powerful enough to run your desired software.
- Editing software: There are so many options available, including Audacity for Windows and GarageBand for Mac. Once you have some experience you’ll want to move to software with more capability.
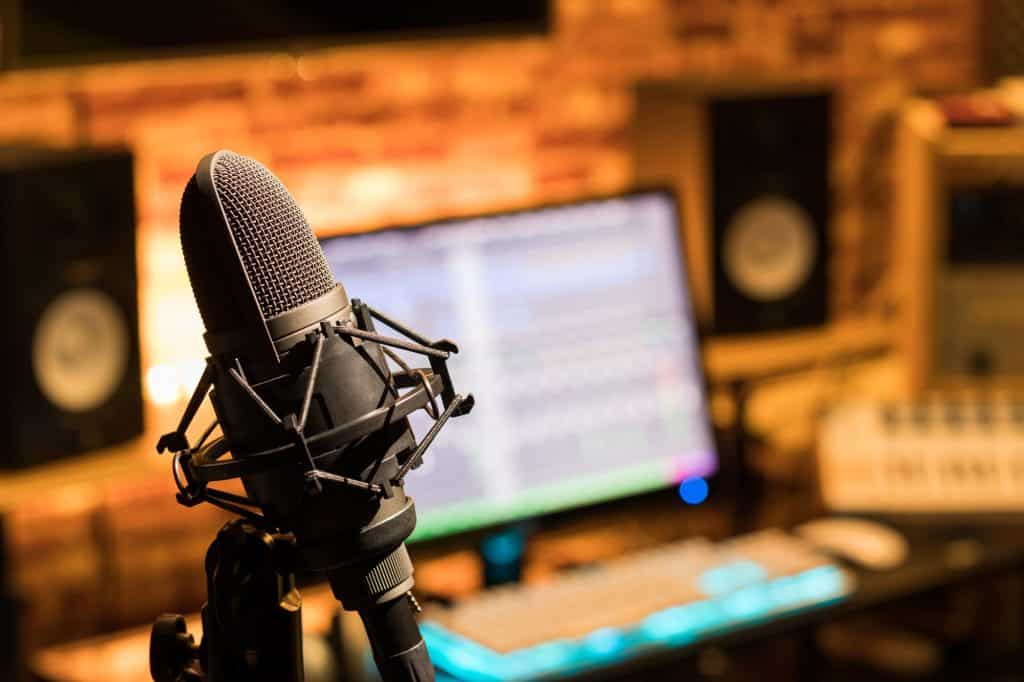
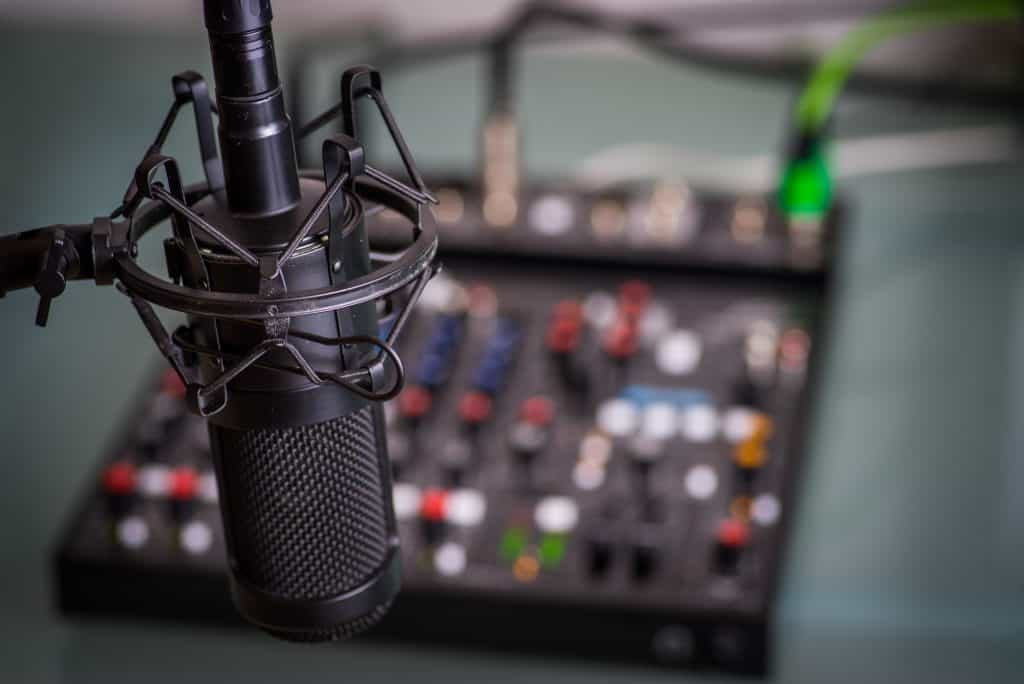
#2 Choose a good microphone
A high quality microphone improves the sound of your audio files, and it makes editing and mastering significantly easier. A condenser mic is typical for audiobook recordings. These microphones are found in either USB or they require an independent power source. A USB microphone plugs directly into into your computer, therefore it’s using your computer as it’s power source. An even higher quality microphone includes a digital interface which provides the higher power requirements of these microphones.
A beginning author, should start with a high quality USB. These microphones provide the quality needed to pass ACX’s audio file requirements. If you would like to learn more about recommendations for microphones, take a look at my article What Equipment Do You Need to Record Audiobooks.
#3 Always use headphones
While you are editing, you should listen to the audiobook the way a listener would hear it. With a good set of headphones, you are much more likely to catch unwanted breaths, mouth clicks, pops, and more. The goal is to provide a great listening experience, and the listener shouldn’t be distracted by extraneous sounds.
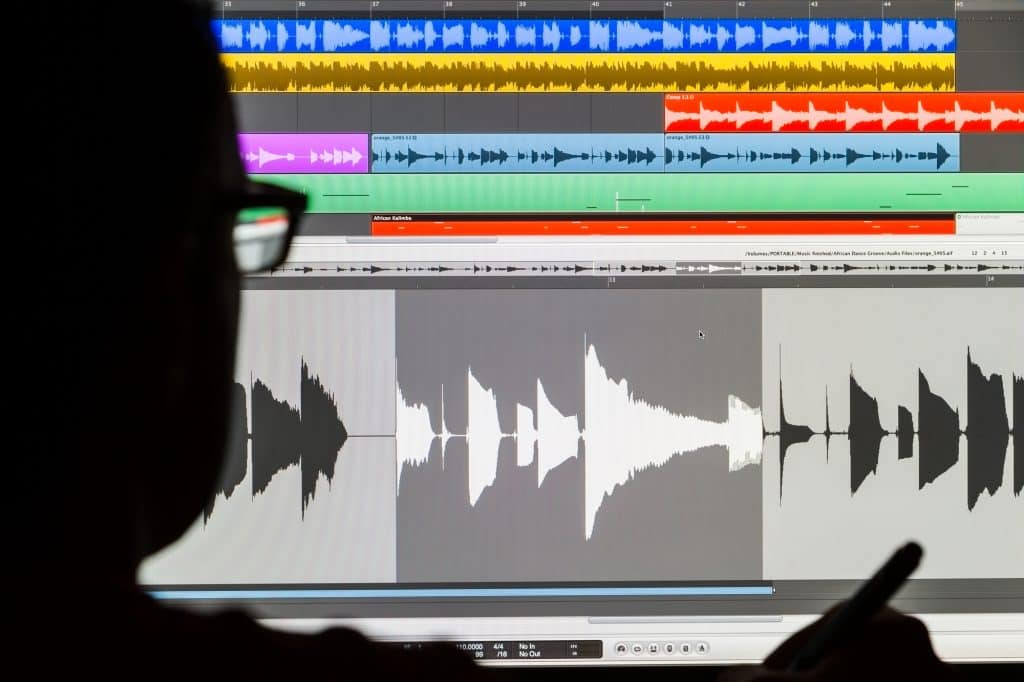
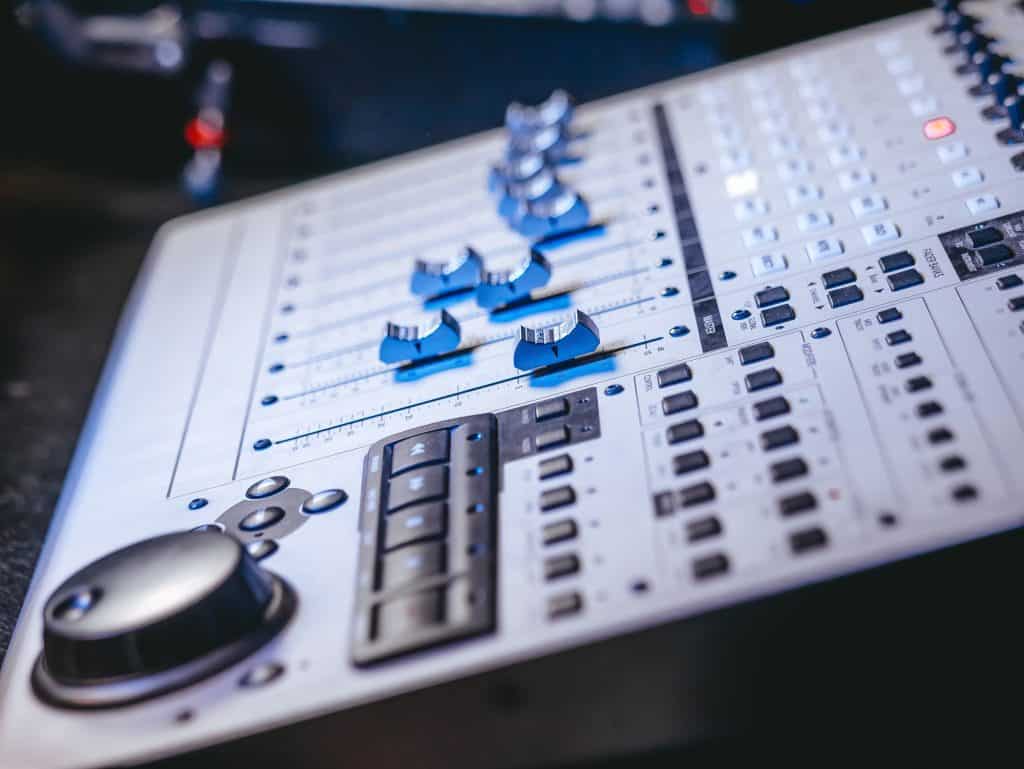
#4 Choose a good digital audio workstation (DAW)
A digital audio workstation (DAW) is software used to edit and master audio recordings. Authors, narrators, and audio engineers new to audiobook creation usually start with Audacity because it is free and decent enough to produce audiobooks. However, once you become comfortable with this free software, you will want more features and that will mean a professional DAW.
#5 Use room tone to get rid of gaps created by editing
Before the narrator starts recording, they will usually record a few seconds of the room when everything is quiet. This recording is the room tone. It is used while editing the audiobook to replace mistakes like loud breaths, unexpected noises, long pauses, etc.
It’s a good practice to record a new room tone for each recording session. This accounts for any elements of your home studio that may change from day-to-day.
#6 Add a few seconds of room tone at the beginning and end of each chapter
ACX technical requirements state where you need the silent spaces for each chapter. The reason for this is to help them put all the files together to create your audiobook.
- At the start of the file, place 1 second of room tone.
- After the chapter introduction, place 2 seconds of room tone.
- At the end of the file, place 3 seconds of room tone.
Keep in mind, there should be one chapter or section per file.
#7 Mark your audio files
While you are narrating, use a clicker or clap your hands to mark errors in your recording. These will be places where you may have stumbled on a word and needed to restart a sentence. The goal is to create loud sounds that will visually show up when you start editing the audio in your DAW. This is how it works:
- While you are reading, if you make a mistake use a clicker or clap your hands.
- Pause for a few seconds.
- Restart the sentence and continue reading.
#8 Use crossfades when necessary during editing
Insert crossfades at the transitions of two audio segments. Crossfades allow for a seamless edit which creates a good listener experience. The only place you may not want a crossfade is at the start of an audio file.
Many DAWs will automatically insert crossfades. However, this could cause you to miss small noises where the two segments meet. It’s better to do this manually.
#9 Don’t remove all breaths
Breathing is part of who we are – humans need to breathe. Consequently, when a listener hears an audiobook, some breaths are expected and even needed to convey emotion.
However, a narrator with loud breaths will become distracting during a 6 or 12- hour audiobook. The trick is knowing which breaths to keep and which breaths to delete or reduce in level (see the next 2 tips).
#10 Remove or Reduce breaths in the audio recording
The general rule-of-thumb is to remove all breaths before the sentence.
Manual
Manually removing breaths before the start of each sentence will go a long way to improving the listener’s experience. Keep in mind that you may have to replace the gap with room tone to preserve the pacing of the audiobook. In addition, if you are working on a 12-hour audiobook, it could take as much as 36 hours of editing.
If you would like to learn more about how much time it takes to produce an audiobook, take a look at my blog post How Long Does It Take to Record an Audiobook.
Automatic
Another option is to use an automatic plugin with your DAW. However, these plugins will remove all breaths when you may just want them to become less noticeable. Another setting will lower the levels of all breaths, which will leave in the breaths before sentences.
In the end, using the automatic plugin is a judgement call.
#11 Reduce the breath level in the middle of a sentence
In general, you should decrease the level of breaths between sentences.
The narrator may have placed a breath between words in a sentence because they are pausing for effect. Other times, the narrator is speaking so quickly that several sentences end up quite close together. The result may be lots of quick noisy breaths right next to words.
In this case, the breaths are part of the narration and convey urgency, fear, arousal, etc. I don’t recommend that you try to remove these breaths.
If the breaths are unusually loud, you may consider manually fading each one. This will work, but it’s quite time-consuming.
Another option is to reduce the sound of the breath by using an automatic plugin. These plugins check for breaths throughout the entire file and reduce their levels. After you run this plugin, you can go through the file, and manually remove the breaths before sentences if they still need to be removed.
#12 Fade breaths that are joined to words
If you’ve encountered a breath that is right next to a word, you can manually fade it. However, do this carefully because it may also affect the word.
Many DAWs will allow you to lower the level of breaths one at a time, but they may all work a little differently. The general procedure is to:
- Zoom into the track that contains the breath
- Select the breath and have the DAW heal or smooth it out.
- Re-listen to the track with the breath, and make sure the word near the breath is not disturbed.
#13 Adjust pause lengths only if they sound off
A good narrator will have a certain cadence that matches the story. As the editor, you’ll be able to hear it, and use it to help you edit. The narrator may pause for effect, to break up complex ideas, or to show emotion.
These pauses are important, and, as the editor, you’re in a good position to hear when it doesn’t sound right. This may happen if the narrator has paused for some reason other than the story.
For example, the narrator may pause if they’ve lost their place or if they’re struggling to remember a word pronunciation. In other cases, for example in novels with multiple characters, the narrator may be trying to remember how a certain character sounds.
If you need to decrease the pause, simply delete the excess. If you need to increase the pause, you can do so with room tone and apply the crossfade.
#14 Rerecord if you can’t fix the recording with editing
If there’s a recording error like an incorrect word pronunciation, skipped text, or unexpected noise right over the narration, you may need to rerecord. Trying to fix extraneous noises could take longer than simply rerecording.
#15 Remove the occasional mouth click if it doesn’t disturb the neighboring words
Mouth clicks are caused by having a wet mouth. They are difficult to remove manually because they’re usually right next to words.
There is a natural echo after the end of words that is usually the result of the home studio’s acoustics. While the listener follows the audiobook, he or she will get used to hearing this natural echo. If you delete a click at the end of a word, you will also delete this natural echo and make the word sound cut off.
If you get lucky and find a way to remove only the click, insert the missing space with room tone. Use a crossfade to create a smooth transition.
A better solution is to carefully heal or smooth the click with your DAW so that it is not as noticeable. Many DAWs have this plugin, but they may work a little differently. Generally, the way it works is:
- Zoom in on the unwanted noise
- Select the mouth click and heal or smooth it out.
- Re-listen to the segment containing the mouth noise to make sure the neighboring words are not distorted.
#16 Remove pops while recording with a pop filter
Pops are blasts of air on the microphone. They are usually caused by hard consonant sounds like “P” and “B”. It’s possible to filter them out during editing, but it would be much cleaner to have the narrator use a pop filter that protects the mic from the blasts of air.
#17 Take one or more classes to learn audio editing
If you are an author or narrator and you plan to edit audiobooks, you may find it helpful to take one or more classes. I would recommend the following:
- YouTube: There are lots of free videos available for your specific DAW that explain in detail exactly how to edit audiobooks, what to look for, and how to master your edited file.
- Udemy: This is a teaching site that offers many paid lessons on audio editing. Many times, it’s possible to find coupons for this site. I’ve used Udemy for other lessons, and I’ve found lots of discount code for my classes.
- Community College: I hesitate to recommend this option because it will cost more money. However, you may receive more comprehensive training on audio editing than you would on YouTube and Udemy.
#18 Make your audiobook conform to Audiobook Creation Exchange (ACX) audio submission requirements
The requirements listed in this section are specifically for ACX, but other audiobook creation platforms are very similar. Most audiobooks are sold through ACX, and I’ve listed their requirements here.
Your audiobook must:
- Have consistent overall formatting and sound;
- Contain opening and closing credits;
- Comprise all mono or all stereo files;
- Include a 1- to 5-minute retail audio sample.
Every audio file must:
- Contain only one chapter with the chapter heading read aloud. It may also contain only one section (i.e. opening credits, retail sample, etc.);
- Comprise a running time that is less than or equal to 120 minutes;
- Have a room tone that is free of unwanted noises at the beginning and end;
- Measure between -23dB to -18dB RMS, have -3dB peak values, and a maximum -60dB noise floor;
- Be an MP3 file (192kbps or higher) with a 44.1 kHz Constant Bit Rate (CBR).
If you would like more information, take a look at this article on the ACX website ACX Audio Submission Requirements.
#19 How long is the ACX audio review?
After your audio files are edited, proofed, and mastered, it’s time to send them to the Quality Assurance Engineers at ACX. Their job is to check your files for any errors like erroneous noises, incorrect levels, missing opening and closing credits, etc.
If they find any errors, they will reach out to both the narrator and the author. If there are no errors, the process takes 5-7 days.
If you would like to learn more about this ACX process, take a look at this article on the ACX website What happens during audio review?
What should your next step be?
If you have completed editing your audio files, your next step is to proof your recordings. This may turn into an iterative process where the proofing finds errors that need to be rerecorded and then reedited.
Once you have completed the editing and proofing phase, you are ready for mastering. If you would like to learn more about mastering, take a look at my article How to Master an Audiobook. Mastering is the last step before sending the files to ACX.
Conclusions
This article shows the major steps for editing your recorded narration. This is usually the most time-consuming part of post-production audio, but if you take your time, and do it right, you’ll end up with a wonderful sounding audiobook.
Have you edited an audiobook? What was the most time-consuming part of the process?